There’s nothing worse than coming out to the car in the morning to find you have a flat tyre, or to be on a journey and experience a blowout, especially if you’ve never fitted a spare wheel before.
Here the breakdown experts at Sterling Rescue advise what tools you will need and run through the 15 steps to safely change a flat tyre.
The correct tools
The spare wheel is normally stashed in the boot, under the bonnet or in a cage beneath the rear of the car. It may be the same size as the original wheel or it may be narrower – a “space-saver”. You will also need:
- The car handbook for advice on jacking points and tyre pressures.
- A wrench for removing the wheel nuts. The wheel nuts may be hard to remove so it’s worth investing in a four-way wrench which is more robust than those supplied as standard.
- A jack for raising the car off the ground. A hydraulic trolley jack is easy to operate and secure.
- Wheel chock to stop the car from rolling when jacked up.
- A wheel nut key if locking nuts are fitted.
- A flat screwdriver.
Other equipment you may need
- Torch
- Gloves
- Reflective jacket
- Warning triangle
- Short plank of wood
- Tyre pressure gauge
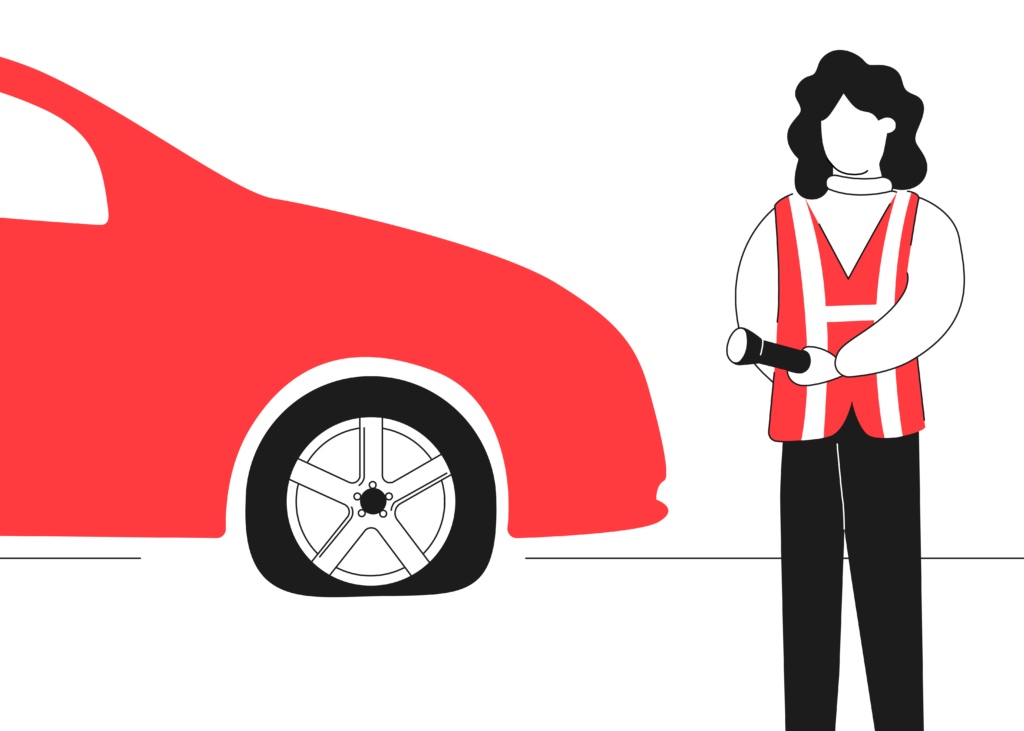
1. Before changing a punctured tyre
Make sure you are in a safe place, you have the correct tools for the job and your spare is in good condition. Turn on your hazard lights, put on your reflective jacket, and position your warning triangle to alert other motorists before work begins.
It will be dirty work so put on gloves if you have them and, if it’s dark, position the torch so you can see under the car. Now you are ready to follow these 15 steps.
2. Prepare yourself and the car
Ensure the handbrake is fully applied and get any passengers out of the car and to a safe place. Get the spare and the tools you will need.
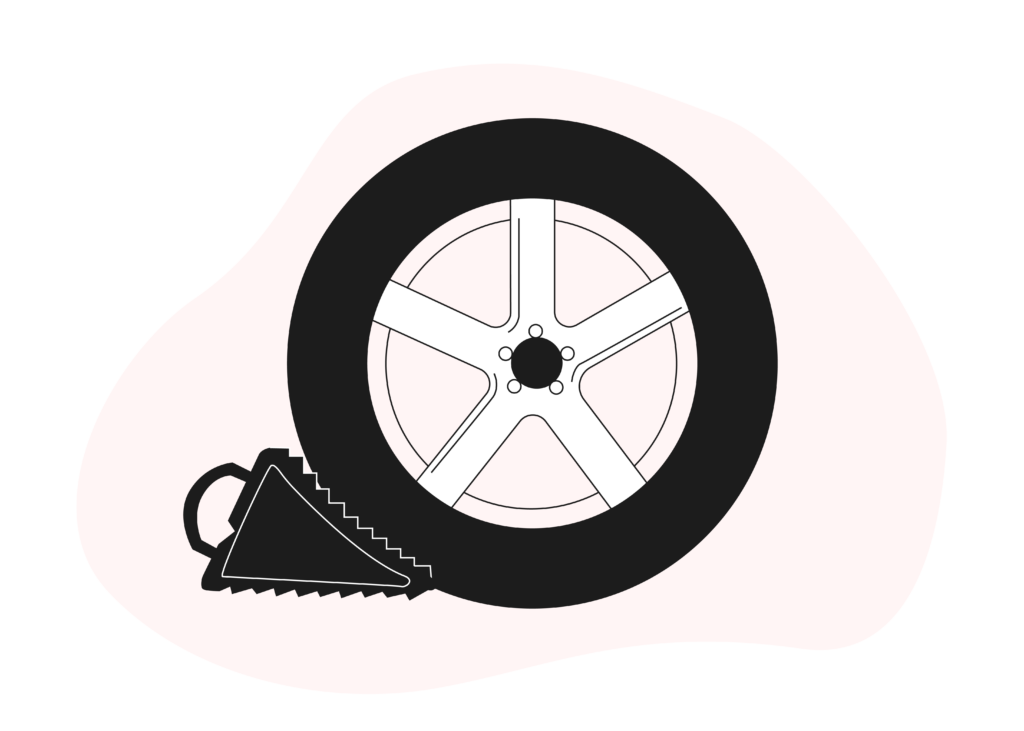
3. Chock the wheels
The chock doesn’t have to be shop bought, it could be a simple house brick, but it will stop the car from rolling while it is jacked up. Position the chock on the opposite wheel to the one that is being replaced.
4. Remove the wheel trims (if fitted)
Use a screwdriver to prise the wheel trim from the wheel.
5. Undo the wheel nut locks
The wheel nut lock is a simple cover over the nut to prevent anyone tampering with them while the car is stationary. They are removed with a simple key.
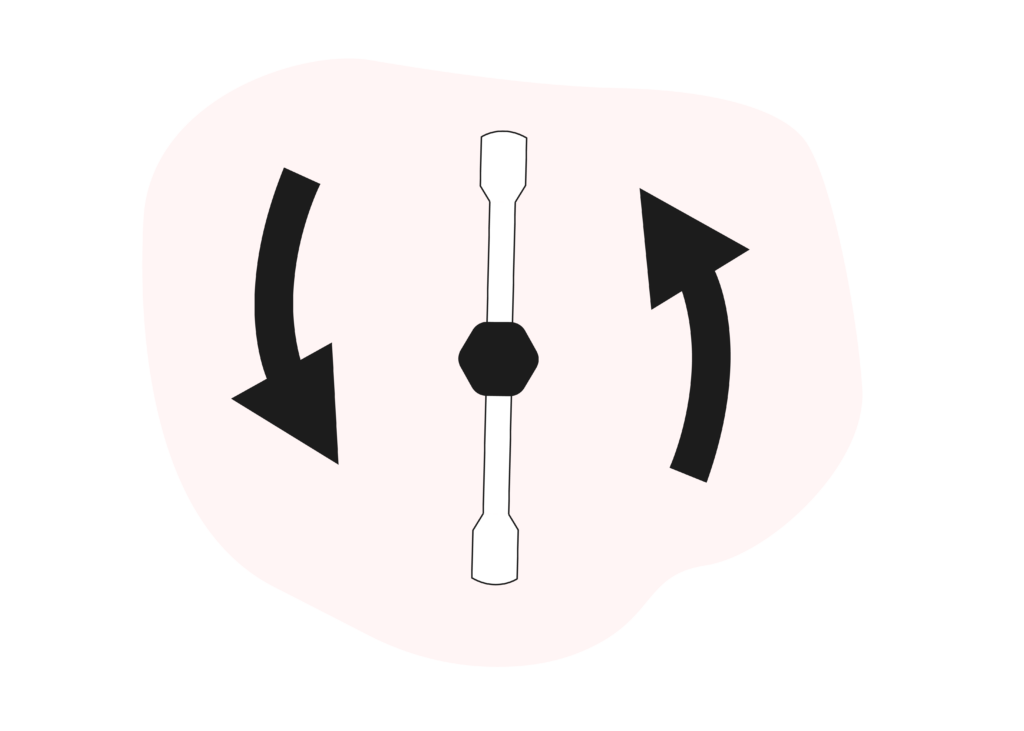
6. Loosen the wheel nuts
You will find it easier, and it will be safer, if you loosen the wheel nuts before you jack the car up. Turn the wheel wrench anti-clockwise. This will probably be hard work, which is when a four-way wrench comes in handy. Undo each wheel nut a little at a time until they are just finger tight, but don’t remove them completely.
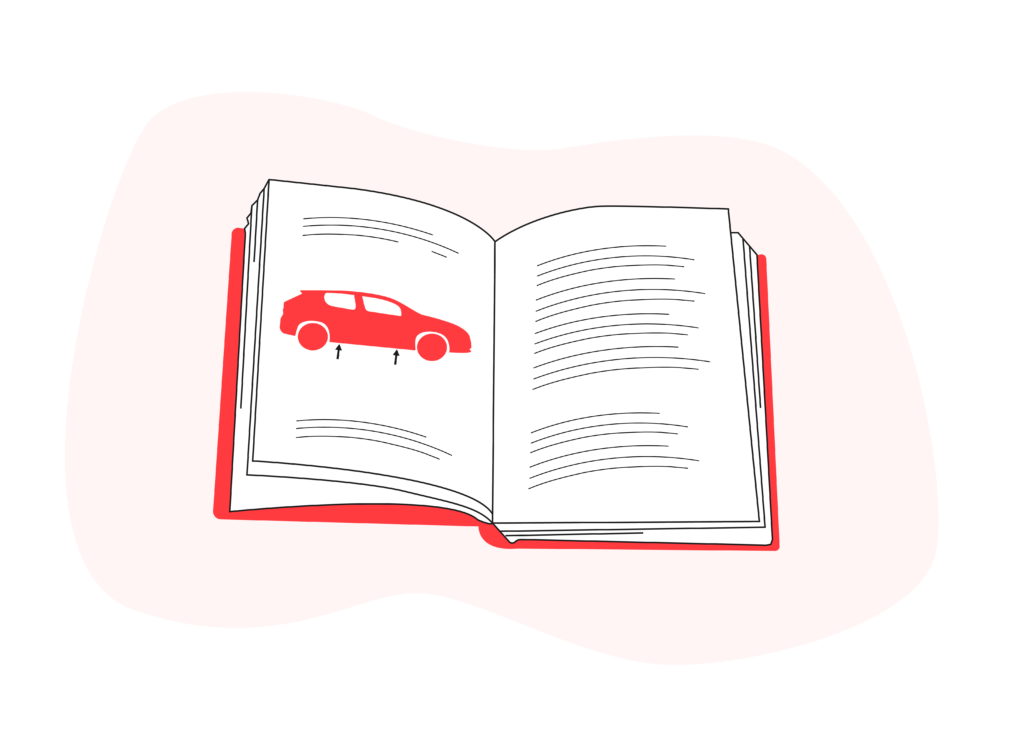
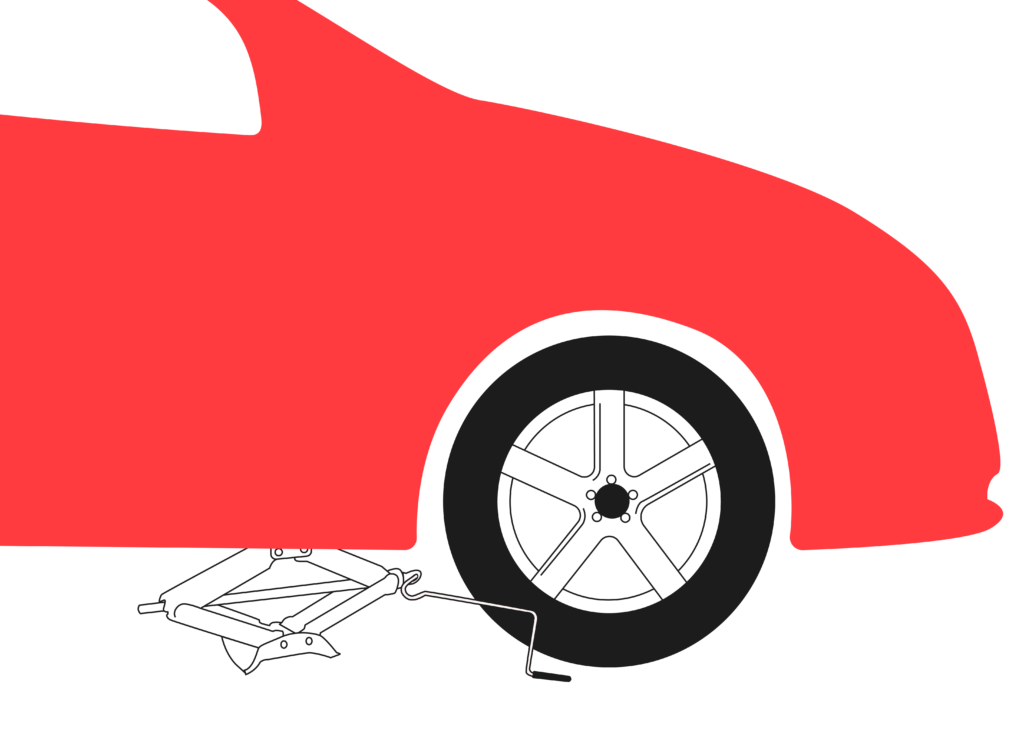
7. Jack up the car
Consult your handbook to identify the jacking points beneath the car. Position the jack below the jacking point. If the ground is uneven it may be helpful to put a piece of wood beneath the jack to keep it on a sure footing. Raise the car slowly until the wheel can turn freely, about 10-15cm off the ground. Ensure the jack is stable and the car is safely hoisted. It’s a good idea to put a support, perhaps a pile of bricks, beneath the car just in case the jack should slip.
8. Remove the flat tyre
Undo the wheel nuts and put them somewhere safe, then pull the tyre towards you and lift it off the wheel hub bolts.
9. Put on the spare wheel
Slide the spare wheel onto the hub bolts. Replace the wheel nuts and tighten them by hand, tightening each a little at a time.
10. Lower the car and tighten the bolts
Use the jack to lower the car until the replacement wheel touches the ground and use the wrench to fully tighten the wheel nuts.
11. Fully lower the car
Lower the car so its full weight is on the tyre and double check the wheel nuts are fully tightened.
12. Secure everything in place
Replace the wheel nut locks and clip the plastic wheel trim back in place.
13. Put everything back where it belongs
Stow the jack, wrench, other equipment and damaged tyre back in the car.
14. Check the tyre pressure
Use a tyre pressure gauge to check the newly fitted tyre is inflated to the manufacturer’s specification, or drive slowly to a filling station and check it there.
15. Repair or replace your tyre
Unless your vehicle is fitted with run flat tyres, which can be used even after you’ve got a puncture for a limited number of miles and at a limited speed, it is essential that you have a working spare in case of emergency so you should get the puncture sorted as soon as possible. The garage will advise whether your tyre can be repaired or whether it needs to be replaced.
Sterling breakdown insurance
If you’re still not confident you can change a car tyre safely, it might be time to consider Sterling breakdown insurance.
From as little as £25.42 a year you can get help with a puncture, or any other cause of breakdown or failure to start, anywhere in the UK or Europe, 24 hours a day, 365 days a year. We also offer instant breakdown cover, allowing you to get help even if you haven’t taken out breakdown cover with us previously. Call 0344 381 9959 for a free no obligation quote.